Table of Contents
Billing routines are unique to each agency, however, many follow the same general process with only small changes to account for their specific business needs. Please keep in mind that if your agency has a Medicaid integration that you will likely not follow the steps outlined here.
The general billing process follows a set of routines:
- Review the Unbillable Shifts Report
- Create Invoices
- Sync Invoices via QuickBooks
Unbillable Shifts Report
-
Review the Unbillable Shifts Report
- Go to Reports – Unbillable Shifts

- Select the date range

-
Review any reason codes for why a shift would be unbillable:
- Double click on the Reason and it will open up a window with the impacted shifts
-
Common Reasons for an unbillable shifts include:
- No Payment Obligation – A service is missing the payment obligation (PO), once the PO has been added and a customer set the shift will be billable.

- No Customer – A PO has been created but a customer has not been set, once the customer is set the shift will be billable.

- Not Assigned – The shift has not been assigned, once a CG has been assigned and the shift has been marked Verified Complete the shift will be billable.
- Not Verified – The shift has not been marked as Verified Complete, once the shift status has been updated the shift will be billable.
Creating Invoices
-
Create Invoices
- Go to Office – Create Invoices

- Select the time period you want to invoice through
- Select which invoices you which to create
- Click Create Invoices

-
Review and close out invoices
- If you create invoices the system will open the Invoice window, otherwise go to Office – Invoice List

- Review Invoices and make adjustments as needed
- Closeout the invoices

QuickBooks Syncing
-
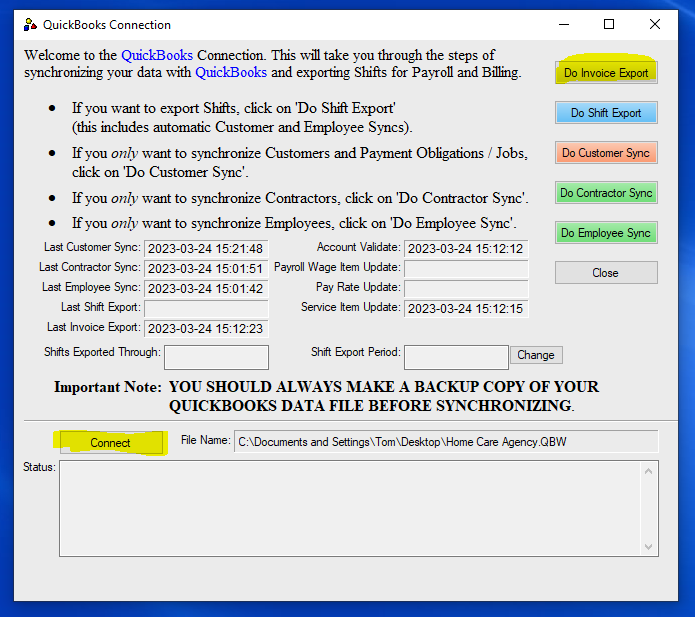
Sync with QuickBooks
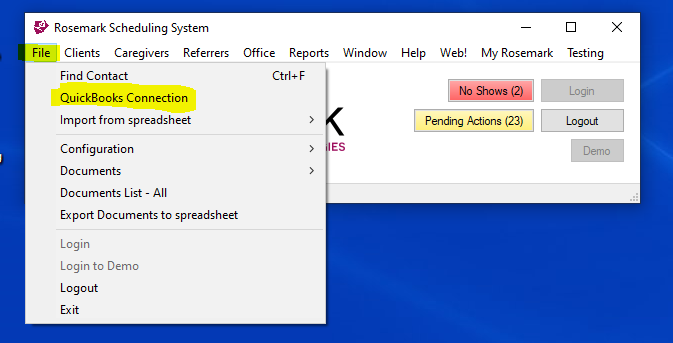
- Go to File – QuickBooks Connection
- Connect to your QuickBooks Account
- Select Invoice Export
Rosemark and QuickBooks
Rosemark can directly connect to QuickBooks and send data over to speed up your billing and payroll process. If you have questions about this you can reference the QuickBooks page or discuss with the Customer Success team.